Hey there! I'm a supplier of rack-mounted batteries, and I'm stoked to share with you how to install a rack-mounted battery. Whether you're a DIY enthusiast or a professional installer, this guide will walk you through the process step by step.
Before You Start
First things first, safety is key. Make sure you've got the right safety gear, like gloves and safety glasses. And don't forget to turn off any power sources that might be connected to the area where you'll be installing the battery.
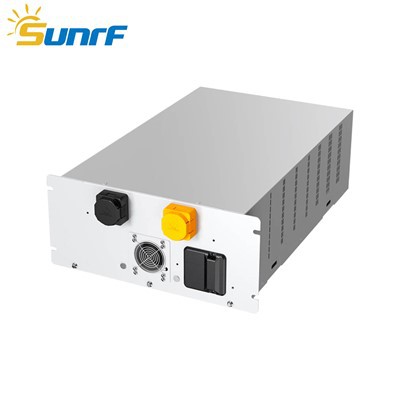
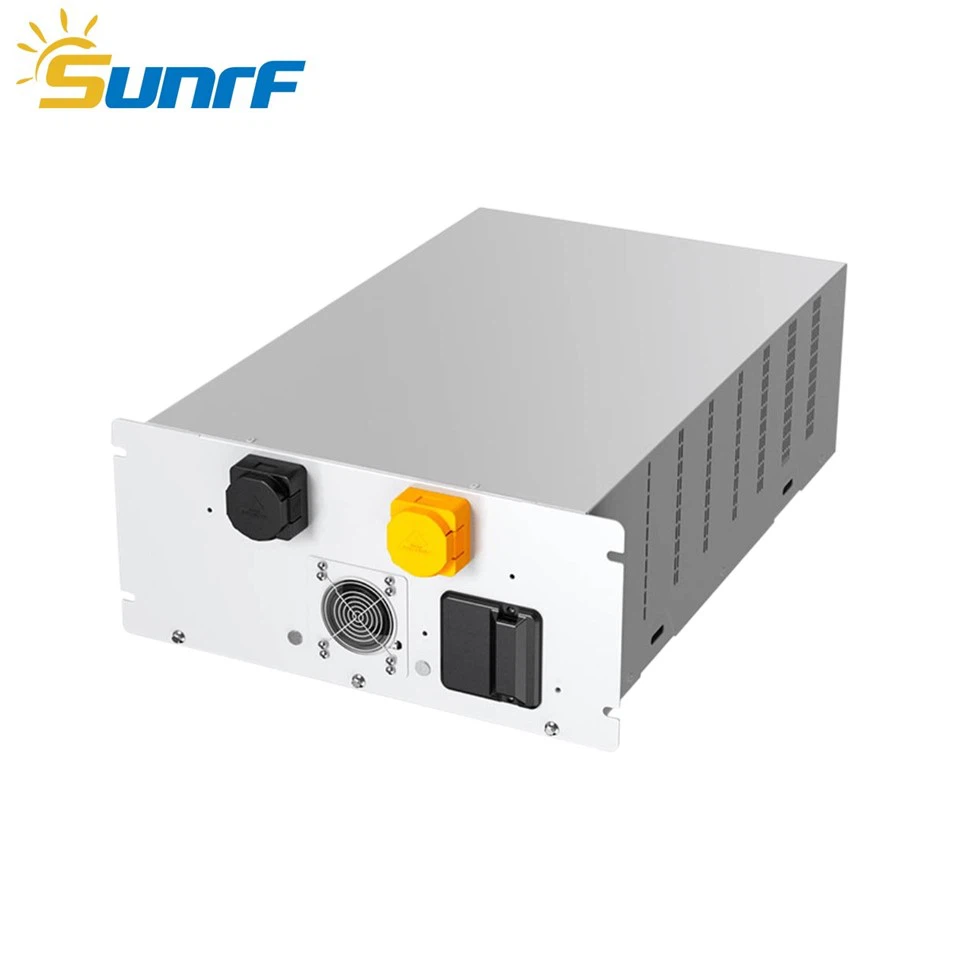
You'll also need to gather some tools. A basic toolkit with a screwdriver, wrench, and pliers should do the trick. And of course, you'll need the rack-mounted battery itself. We offer some great options, like the LiFePO4 Battery Pack 16S280AH Air-cooling, the Embedded Energy Storage Lithium Battery, and the High Voltage Energy Storage Tank for 51.2V200Ah Battery.
Step 1: Choose the Right Location
Picking the right spot for your rack-mounted battery is super important. You want a place that's well-ventilated to prevent overheating. It should also be dry and away from any sources of heat or moisture. Make sure the floor can support the weight of the battery and the rack. If you're installing it in a server room or a data center, make sure there's enough space around the rack for easy access and maintenance.
Step 2: Prepare the Rack
Once you've found the perfect location, it's time to set up the rack. If you're using a pre - assembled rack, just make sure it's level and secure. If you need to assemble it, follow the manufacturer's instructions carefully. Use the right screws and bolts to make sure the rack is sturdy.
Step 3: Unpack the Battery
Carefully unpack the rack-mounted battery from its packaging. Check for any damage during shipping. If you notice any cracks, leaks, or other issues, contact us right away. We'll make sure you get a replacement or the necessary support.
Step 4: Mount the Battery in the Rack
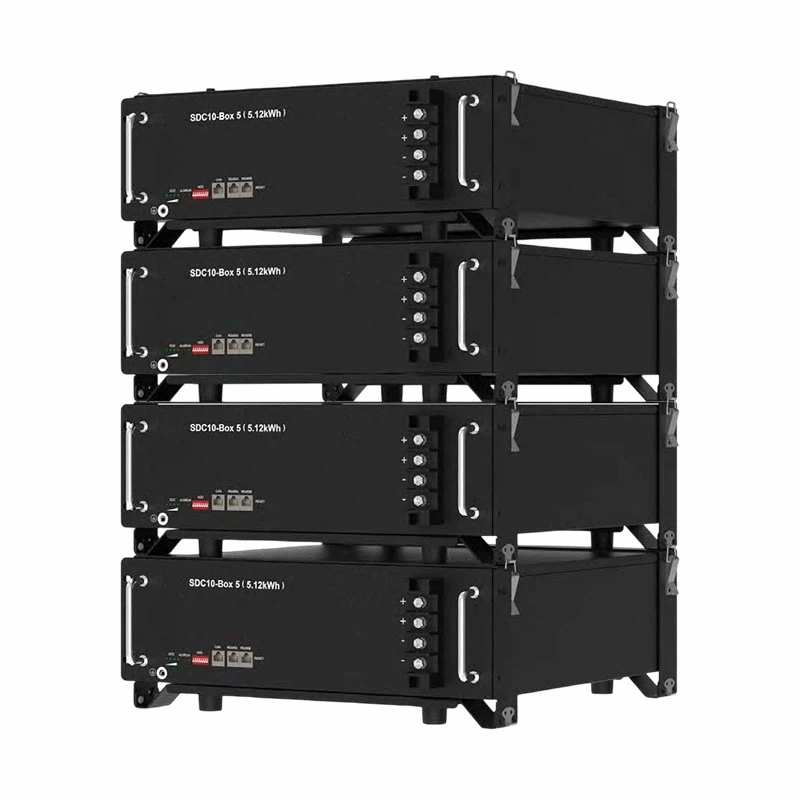
Now comes the fun part - mounting the battery in the rack. Most rack-mounted batteries come with mounting brackets or rails. Align the battery with the mounting points on the rack and use the provided hardware to secure it. Make sure the battery is firmly attached to the rack and doesn't wobble.
Step 5: Connect the Cables
After the battery is mounted, it's time to connect the cables. First, identify the positive and negative terminals on the battery. Usually, the positive terminal is marked with a plus (+) sign, and the negative terminal is marked with a minus (-) sign. Use the appropriate cables to connect the battery to the load or the charging system. Make sure the connections are tight to prevent any loose connections that could cause a short circuit.
Step 6: Check the Connections
Once all the cables are connected, double - check everything. Make sure all the connections are secure and there are no loose wires. You can use a multimeter to check the voltage and make sure the battery is functioning properly. If you're not sure how to use a multimeter, don't worry. You can always reach out to our support team, and we'll guide you through it.
Step 7: Test the Battery
Before you fully rely on the battery, it's a good idea to test it. Charge the battery to its full capacity and then discharge it slowly to see how it performs. Monitor the voltage and temperature during the charging and discharging process. If you notice any abnormal readings, there might be an issue with the battery or the connections.
Step 8: Set Up Monitoring
To keep an eye on the battery's performance, it's a great idea to set up a monitoring system. There are many monitoring devices available that can track the battery's voltage, temperature, and state of charge. This way, you can detect any potential problems early and take action before they become serious.
Troubleshooting Tips
Sometimes, things might not go as smoothly as planned. Here are some common issues and how to fix them:
- Loose Connections: If you notice a drop in voltage or intermittent power, check the cable connections. Tighten any loose connections and make sure the terminals are clean.
- Overheating: If the battery gets too hot, check the ventilation. Make sure there's enough air flowing around the battery. You might also need to check if the battery is being overcharged.
- Low Voltage: If the battery voltage is consistently low, it could be a sign of a faulty battery or a problem with the charging system. Contact us, and we'll help you diagnose the issue.
Why Choose Our Rack - Mounted Batteries
We take pride in offering high - quality rack - mounted batteries. Our batteries are made with the latest technology and high - grade materials. They are designed to be reliable, efficient, and long - lasting. Whether you need a battery for a small home system or a large - scale data center, we've got you covered.
Our LiFePO4 Battery Pack 16S280AH Air - cooling is a great choice for applications that require high energy density and good thermal management. The Embedded Energy Storage Lithium Battery is perfect for embedded systems where space is limited. And the High Voltage Energy Storage Tank for 51.2V200Ah Battery is ideal for high - voltage applications.
Contact Us for Purchase and Consultation
If you're interested in purchasing our rack - mounted batteries or need more information about installation and maintenance, don't hesitate to reach out. We have a team of experts ready to answer your questions and help you find the perfect battery for your needs. Whether you're a new customer or a long - time partner, we're committed to providing you with the best service and products.
References
- Battery Installation Manuals from Various Manufacturers
- Electrical Safety Guidelines for Rack - Mounted Batteries